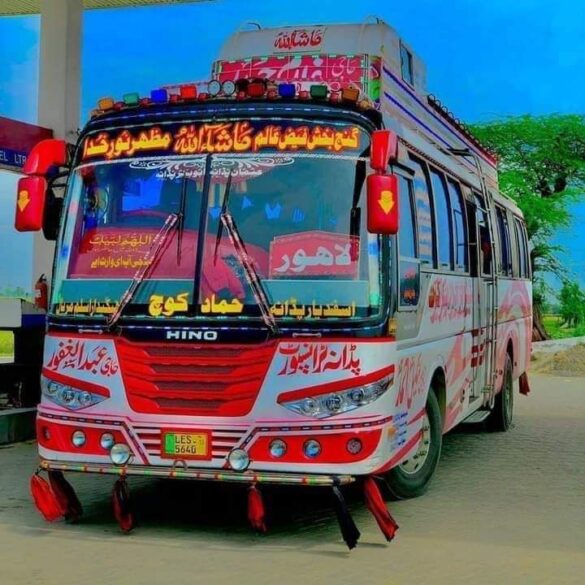
Here’s your full, beginner-friendly course for modding Bus Simulator Indonesia (BUSSID) using Blender, Unity, and BUSSID’s official tools, with handy links to templates and editor tools. I’ve broken it down step by step into digestible modules:
Module 1: Getting Started with BUSSID Modding Tools
- Visit BUSSID’s official Vehicle Modding Tutorial page—you can download the BUSSID Vehicle Editor tool there, along with sample source files to help you get started (Bus Simulator Indonesia).
- These resource files serve as real examples, so you can examine how everything is structured.
Module 2: Modeling in Blender
- Set up your bus model:
- Keep polygon count low (ideally under ~10,000 tris) for mobile performance (Steam Community).
- Name parts clearly:
- “Model” for the main body
- Wheels (front/back/middle for articulated)
- Doors, mirrors, etc.
- Create textures for painting:
- Repaint template: White areas indicate paintable zones, transparent otherwise.
- Details texture: Shows static decals, like windows, lights.
- Emission: Black background, glowing parts in white.
- Roof alpha: Black silhouette shape, rest transparent (Steam Community).
- Rigging & animation:
- Separate objects like doors must be animated (e.g., open/close).
- For articulated buses, set bones for front and rear sections with proper weight painting (Steam Community).
Module 3: Setting Up Your Unity Project with BUSSID Template
- Install Unity, preferably Unity 2022.3.44 (LTS) for best compatibility (Steam Community).
- Use the 3D (URP) Core Template when creating a new project.
- Install TextMeshPro version 3.2.0-pre.10 via Package Manager (Steam Community).
- Import the BUSSID Modding Plugin (“City Bus Manager Modding Plugin”):
- Download the latest
.unitypackage(e.g., v1.0.8). - Double-click to import, then access the Mod Editor menu in Unity (Steam Community).
- Download the latest
Module 4: Importing and Configuring in Unity
- Import assets into Unity:
- In the Textures folder, drag and set up your repaint, details, emission, and roof alpha textures with compression set to None (Steam Community).
- Create or duplicate a material (e.g., “M_Template”) and assign textures appropriately.
- Import your Blender model (FBX) and set model import settings (e.g., “Bake Axis Conversion” as needed) (Steam Community).
- Use the Mod Editor:
- Select City Bus Manager → Mod Editor → New Mod.
- Enter mod metadata: name, type (“bus”), version, capacity, bus size, and category.
- Assign the preview image (for marketplace) and paint textures.
- Configure colliders and the “In-Bus Point” for player entry (Steam Community).
- Export your mod via the Mod Editor—Unity will build your mod into the appropriate directory (Steam Community).
Module 5: Testing Your Mod in BUSSID
- If using the PC version (City Bus Manager), the mod becomes available in the mod list—test for correct positioning, animations, lights, articulation, and cleanliness/damage effects (Steam Community).
- If you’re targeting the Android BUSSID game, use the BUSSID Vehicle Editor tool you downloaded in Module 1 to ensure your asset bundle is compatible—then test on your device.
Module 6: Livery & Skin Customization
- For custom skins and liveries:
- Use the repaint templates from Module 2.
- There are numerous video tutorials that focus solely on making templates and applying bus skins, such as “HOW TO MAKE TEMPLATE / SKIN / LIVERY IN BUS SIMULATOR INDONESIA” (YouTube).
- Here’s a helpful video tutorial on designing bus liveries:
HOW TO MAKE TEMPLATE / SKIN / LIVERY IN BUS SIMULATOR INDONESIA | FULL TUTORIAL | BASICS
Quick Overview Table
| Stage | Tools/Steps |
|---|---|
| 1. Download tools | BUSSID Vehicle Editor & sample files (Bus Simulator Indonesia) |
| 2. Blender modeling | Low-poly, separate parts, create textures (repaint, details, emission, roof) |
| 3. Unity setup | Unity 2022.3.44, URP template, TextMeshPro, Modding Plugin (Steam Community) |
| 4. Asset import | Textures (no compression), model import, material setup |
| 5. Mod Editor use | Configure mod metadata, colliders, preview image, export (Steam Community) |
| 6. Testing | Check functionality in-game (animations, lights, paint, etc.) (Steam Community) |
| 7. Livery/skins | Use templates, apply textures; see tutorials (YouTube) |
Summary & Next Steps
- You now have a complete beginner workflow: from modeling in Blender, texture prep, Unity setup, BUSSID plugin usage, to final testing.
- Download the BUSSID Vehicle Editor + samples from their official tutorial page (Bus Simulator Indonesia).
- Watch the referenced video tutorial for livery design toMaster the skin workflow.
- Want help with any specific part? Just let me know—whether it’s texture UV layouts, Unity prefabs, or Android bundling—I’ve got your back!


